
Install the desktop app
Download and install the Intune Documentation desktop app on Windows or macOS, then start the setup wizard.
The desktop app runs on your own Mac or Windows PC. Installing it takes a minute or two. When you open it for the first time, a setup wizard guides you through connecting your tenant.
System requirements
- macOS: macOS 13 Ventura or later, on Apple Silicon or Intel.
- Windows: Windows 10 or 11, 64-bit (x64).
The computer needs internet access to Microsoft and to intunedocumentation.com. Everything else you need before setup is listed in Before you start.
Download the app
Each link always downloads the newest version for your platform.
| Platform | Download |
|---|---|
| macOS, Apple Silicon (M-series Macs) | Download for Apple Silicon |
| macOS, Intel | Download for Intel Macs |
| Windows 10 or 11 (x64) | Download for Windows |
Not sure which Mac you have? Open the Apple menu and choose About This Mac. A chip name that starts with "Apple M" means Apple Silicon. "Intel" means an Intel Mac.
Older versions and release notes are on GitHub Releases.
Install on macOS
The Mac download is a DMG disk image.
Open the DMG. Double-click the downloaded file. A window opens with the app and your Applications folder.
Drag the app to Applications. Drag Intune Documentation onto the Applications folder. You can then eject the disk image.
Open the app. Open Intune Documentation from your Applications folder or Launchpad.
Install on Windows
The Windows download is a Setup installer (Intunedocumentation-Setup-<version>.exe). It installs the app for your own user account.
Run the installer. Double-click the downloaded Setup file.
Follow the prompts. Accept the license agreement. You can keep the suggested installation folder or choose another one.
Open the app. When setup finishes, open Intune Documentation from the Start menu.
First launch: the setup wizard
The first time you open the app, it starts a setup wizard. The wizard connects the app to your tenant in seven steps and shows you exactly what to do in the Microsoft Entra admin center along the way.
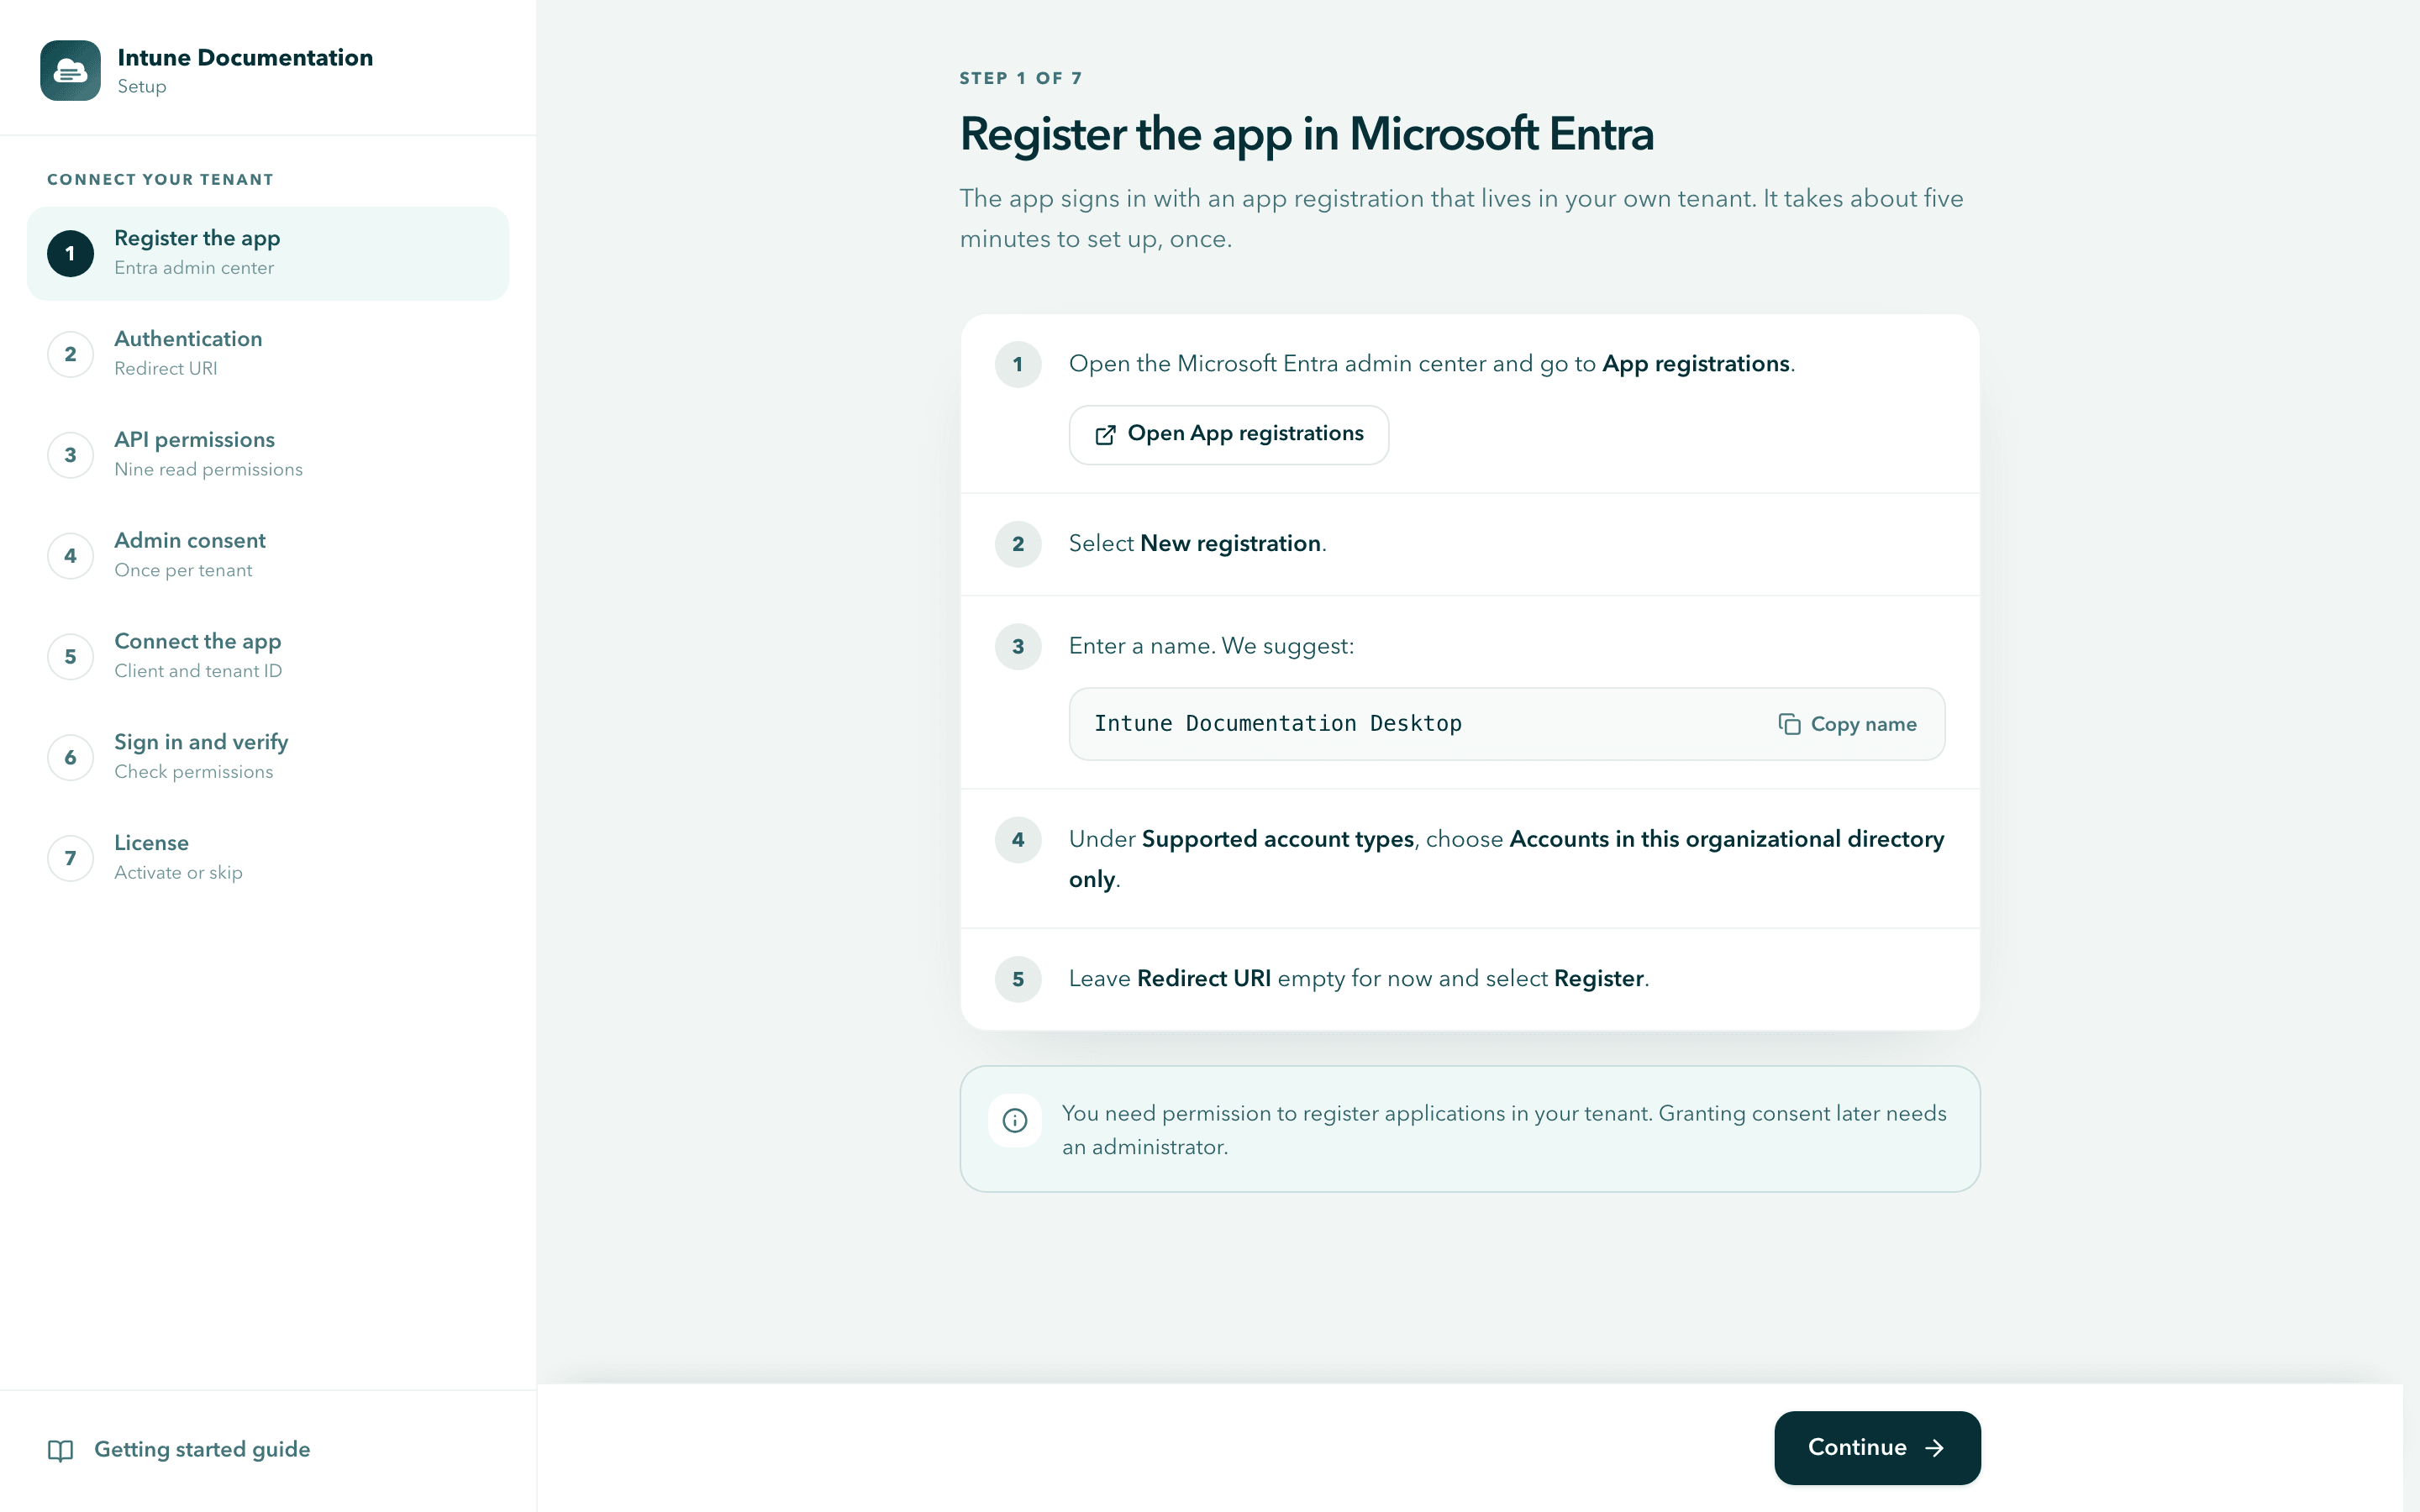
- Register the app: create the app registration in Microsoft Entra. See Create the registration.
- Authentication: add the redirect URI for the desktop platform. See Add the desktop platform.
- API permissions: add the nine read-only Microsoft Graph permissions. See Add the API permissions.
- Admin consent: grant consent once for your tenant. See Grant admin consent.
- Connect the app: paste the client ID and tenant ID into the app. See Copy the IDs into the app.
- Sign in and verify: sign in with Microsoft. The app checks every permission. See Sign in and verify.
- License: paste your license key, or skip and add it later. See Activate your license.
Your progress is saved as you go. If you close the app halfway, the wizard opens again at the step where you stopped.
Someone else creates the app registration for you? Select Continue through steps 1 to 4, then paste the two IDs they send you. See Before you start.
Need the wizard again later, for example to connect another app registration? Select Redo setup under Settings. See Settings and updates.
Updates
The app checks for new versions in the background and tells you when an update is available. You decide when to install it, or you let the app install updates automatically. Both options are in Settings. See Settings and updates.
If something does not work
- The download link does not start a download: try again in a minute, or download the installer from GitHub Releases.
- Other problems: see Troubleshooting or contact support.
Next steps
Before you start
What you need before you install the desktop app: a supported computer, a license, the right admin roles and about ten minutes.
Create the app registration
Register an app in Microsoft Entra ID, add the redirect platform, grant the Graph permissions and copy the IDs the desktop app needs.